The Growing Demand for Himalayan Pink Salt in the Global Market
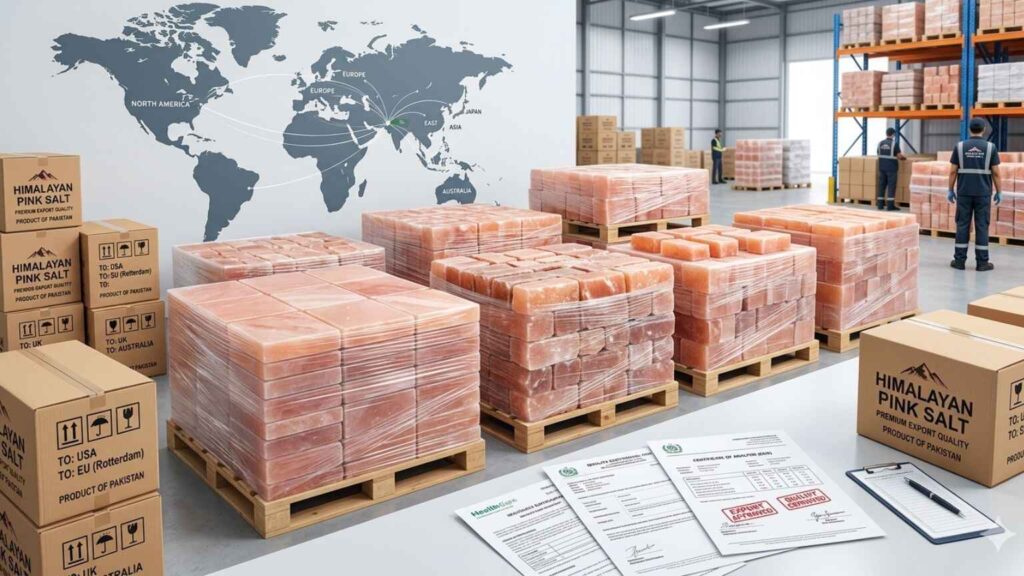
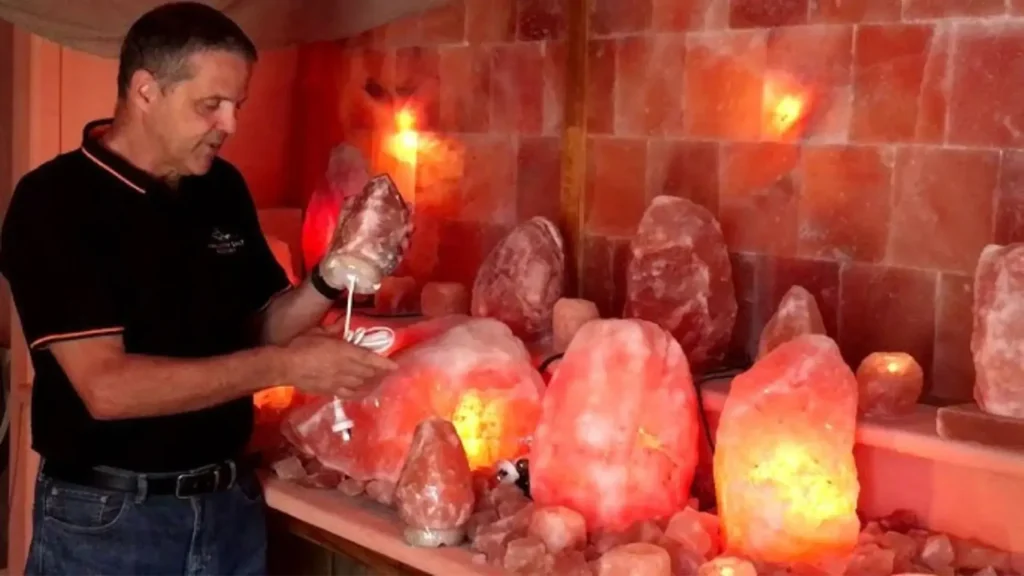
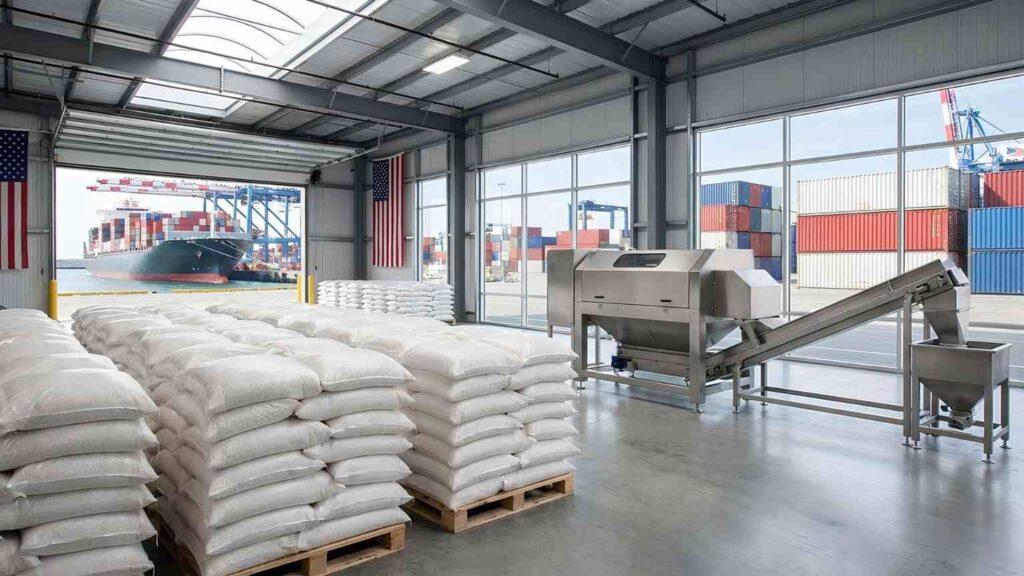
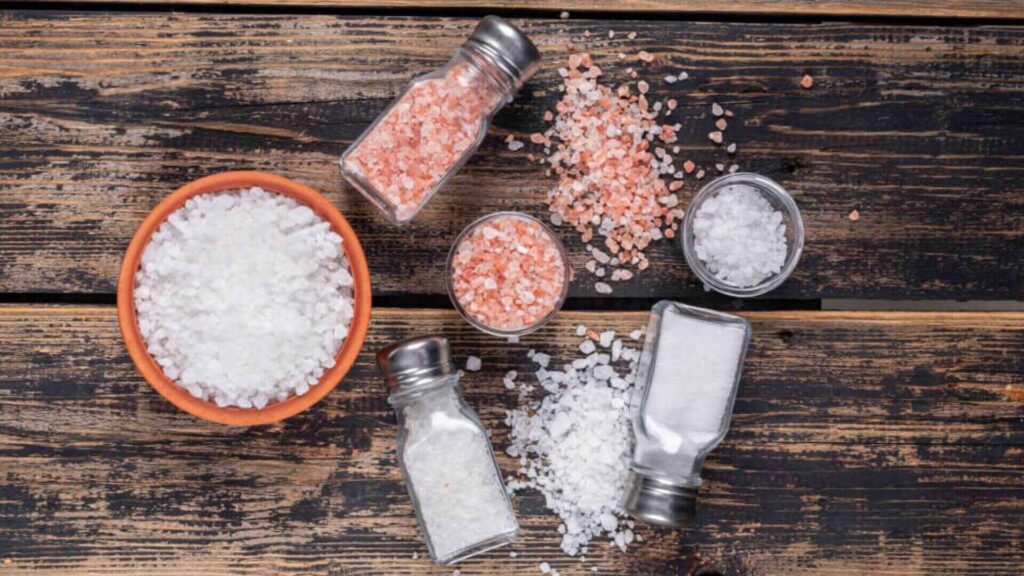
The Growing Demand for Himalayan Pink Salt: A Global Market Intelligence Report for B2B Buyers Key takeaways The Himalayan pink salt market is valued at USD 1.80 billion in 2025 and is projected to reach USD 2.34 billion by 2030 at a steady 5.39% CAGR driven by clean-label food demand and global wellness growth. Pakistan supplies ~350,000 metric tons of pink salt annually, generating approximately USD 120 million in export value making it the world’s dominant and essentially irreplaceable source. Food-grade Himalayan salt holds 86.13% of the total market share, with the food processing segment alone accounting for 39.64% of global consumption. Asia-Pacific is the fastest-growing import region at 6.33% CAGR, driven by urban consumers switching from refined table salt. India’s imports alone grew from 462 to 642 metric tons between 2023 and 2024. The wellness sector bath salts, spa products, and halotherapy is the second largest demand driver after food processing, with wellness applications growing 37% and salt-therapy room installations rising 28% globally. For B2B buyers, this market trajectory means one thing: demand across food, wellness, and industrial applications is rising consistently in every major importing region and supply remains concentrated in one geography. Himalayan pink salt has moved well beyond a niche health food item. It is now a mainstream B2B commodity across food manufacturing, wellness brands, private label retail, and industrial applications all over the world. For B2B buyers distributors, food manufacturers, spa brands, and importers, understanding where demand is growing, which segments are accelerating, and what is driving buyer behaviour globally is the foundation of a sound sourcing strategy. This is that market intelligence briefing. Global Market Snapshot: The Numbers That Matter Here are the key data points every B2B buyer should know before entering or scaling in this market: Metric Data Point Source Global market value (2025) USD 1.80 billion Mordor Intelligence, 2025 Projected value (2030) USD 2.34 billion Mordor Intelligence, 2025 Market CAGR (2025–2030) 5.39% Mordor Intelligence, 2025 Pakistan annual export volume ~350,000 metric tons Future Market Insights, 2025 Pakistan annual export value ~USD 120 million Future Market Insights, 2025 USA import value (2023) USD 19.1 million Future Market Insights, 2025 Food-grade share of total market 86.13% (2024) Mordor Intelligence, 2025 Food processing segment share 39.64% (2024) Mordor Intelligence, 2025 Fastest-growing format Powder — 6.54% CAGR (to 2030) Mordor Intelligence, 2025 Fastest-growing geography Asia-Pacific — 6.33% CAGR Mordor Intelligence, 2025 Pakistan is the world’s only large-scale producer of genuine Himalayan pink salt and that supply concentration is actually a commercial advantage for buyers who secure a reliable, certified supplier. Volume is available. The variable is quality verification and compliance documentation. Did You Know? The powder format is the fastest-growing grade of Himalayan salt projected at 6.54% CAGR through 2030. [1] Where in the World Is Demand Growing? Regional Breakdown Demand is not growing uniformly. Knowing which regions are leading, which are emerging, and what is driving each market helps buyers position their sourcing and distribution strategy correctly. Region Demand Status Key Growth Driver Fastest-Growing Application North America Leading: 31.32% revenue share (2024) Clean-label food trends, premium gourmet demand, wellness products Retail & food processing Europe Established: Germany, France, UK, Netherlands Strict clean-label regulations, natural food preference, spa wellness Private label food & bath products Asia-Pacific Fastest-growing: 6.33% CAGR (2025–2030) Urban households switching from table salt, rising health awareness Edible food-grade, gourmet cooking GCC & Middle East High growth: UAE, Saudi Arabia leading Mineral deficiency awareness, electrolyte demand in hot climate, halal food boom Edible & wellness (electrolyte products) Latin America Emerging Natural food movement, rising disposable income Food seasoning & cosmetic grade India Rapid import growth: 462 MT (2023) → 642 MT (2024) Ayurvedic tradition, clean-label movement, cosmetic industry Edible salt & skincare formulations North America remains the largest market by revenue. But Asia-Pacific and the GCC are where the rate of growth is most pronounced creating strong import demand in markets where Himalayan salt sourcing relationships are still being established. 4 Forces Driving Global Himalayan Salt Demand 1. The Clean-Label Movement in Food Manufacturing Food manufacturers across North America, Europe, and Asia-Pacific are reformulating products to remove artificial additives, anti-caking agents, and synthetic fortification. Himalayan pink salt naturally unprocessed, mineral-rich, and additive-free fits this clean-label mandate precisely. It now appears in premium snacks, artisanal breads, charcuterie, gourmet seasoning blends, and clean-label ready meals. [3] 2. The Global Wellness Industry Bath salts, scrubs, halotherapy chambers, spa treatments, and skincare formulations account for a growing share of Himalayan salt’s global consumption. Salt-therapy room installations grew 28% globally, and wellness-sector demand rose 37%. [4] Brands formulating spa and therapeutic products are sourcing Himalayan salt in cosmetic and food-grade specifications at increasing volumes. 3. Premium Foodservice & Restaurant Demand Salt slabs, cooking blocks, and coarse finishing grades are standard across premium hotel kitchens, restaurant groups, and gourmet food retailers in the USA, UK, France, and Germany. As this trend spreads to Asia-Pacific markets particularly Japan, South Korea, and Australia import volumes in these regions are climbing at above-average rates. [2] 4. Private Label Growth Across Retail Channels Online retail expanded its Pink Himalayan Salt market share by 39% in one year. [4] This e-commerce growth is largely driven by private label brands launching on Amazon, Shopify, and regional platforms all of whom source bulk product and repackage under their own labels. Private label demand is one of the most significant drivers of B2B bulk sourcing volumes today. Did You Know? More than 48% of the food processing industry now incorporates Himalayan pink salt into flavoured snacks and seasoning blends. [4] Key Application Segments: Where the Volume Is For B2B buyers, understanding which application segment is growing fastest helps determine the right grade, certification, and pack format to source. Food processing (39.64% share): The dominant segment. Includes meat curing, snack seasoning, bread and bakery, and ready meal formulation. Requires food-grade certification and consistent NaCl purity. Retail & private label (6.72% CAGR, fastest growing by channel): Consumer-packaged product sold through supermarkets and e-commerce. Requires custom pack sizes, compliant
The Growing Demand for Himalayan Pink Salt in the Global Market Read More »