How To Cook On Himalayan Salt Slabs
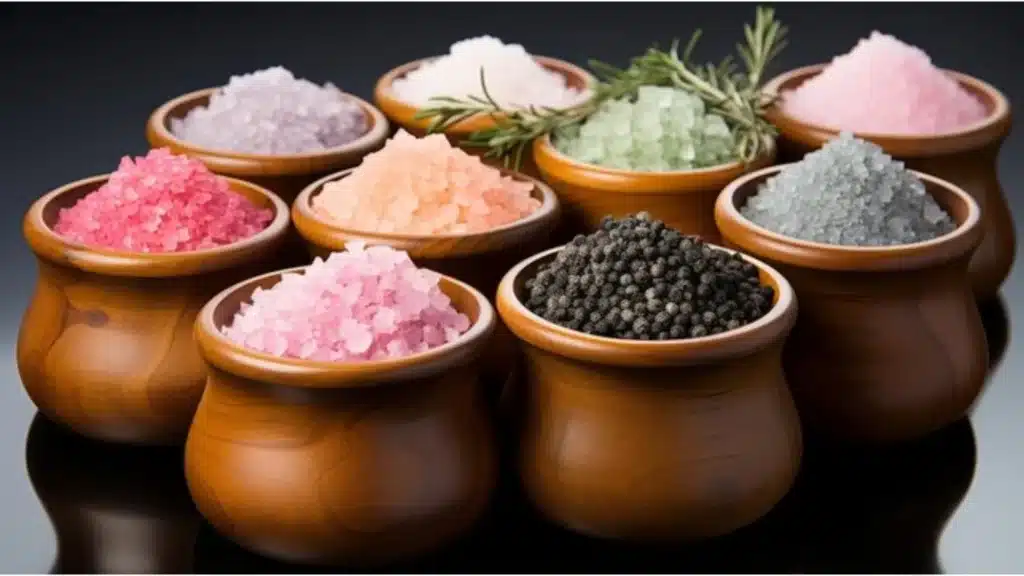
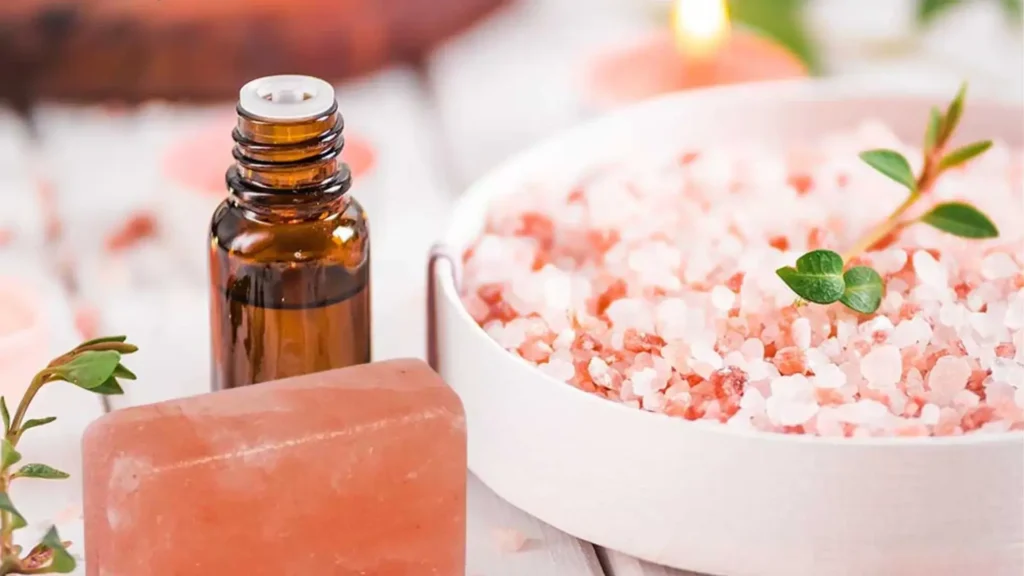
How To Cook on Himalayan Salt Slabs for Healthier and Flavorful Meals Cooking on Himalayan salt slabs has become one of the most unique and natural ways to prepare food. These beautiful pink slabs, made of pure Himalayan rock salt, not only make your meals look stunning but also add flavor and minerals that enhance your health. Unlike ordinary cookware, a Himalayan salt slab connects you directly with nature. It heats up slowly, seasons your food naturally, and infuses every bite with a delicate hint of salt and essential minerals. Whether you’re searing steak, grilling vegetables, or serving desserts, a salt slab adds magic to your cooking experience. One of the standout features of Himalayan pink salt is its impressive array of up to 84 trace minerals, including calcium (1.6 mg/g), potassium (2.8 mg/g), magnesium (1.06 mg/g), and iron (0.0369 mg/g) all higher than in standard table salt. These minerals gently infuse your food with a subtle nutritional boost every time you cook on a salt slab. [1] Table of Contents What Is a Himalayan Salt Slab? A Himalayan salt slab is a solid block of natural pink salt carved from the ancient Khewra Salt Mines in Pakistan one of the oldest and purest salt sources in the world. These mines are estimated to be over 250 million years old, containing salt formed from the evaporation of prehistoric seas. The pink hue of these slabs comes from trace minerals such as: Iron oxide (iron) – gives the pink color. Magnesium, calcium, and potassium – essential for muscle and bone health. Zinc and phosphorus – vital for energy and repair. Every slab is unique in color, texture, and crystal pattern, making it not only a cooking tool but also a piece of art for your kitchen. Why to Cook on a Himalayan Salt Slab? Cooking on Himalayan salt slabs offers more than just a visual appeal. It brings a combination of flavor, health, and performance that regular metal pans can’t match. Here’s why people love it: Natural Salt Seasoning When you cook directly on the slab, your food absorbs just the right amount of salt, never overpowering, always balanced. Plus, since salt added during cooking typically contributes about 25% of daily sodium intake, using a slab helps reduce the need for heavy sprinkling while still maintaining taste. [2] Even Heat Distribution The slab holds and radiates heat evenly, giving your food a perfect sear and locking in moisture. Whether it’s juicy steak or tender vegetables, you get consistent results with every use. Mineral-Rich Cooking Surface As your food cooks, it absorbs trace minerals like magnesium and potassium, adding a subtle nutritional value and earthy flavor. This can provide about 1–4% of your daily mineral needs per serving depending on what you’re cooking. [3] Did You Know? Per kilogram, pink Himalayan salt delivers significantly higher nutrients than table salt with 2,695 mg calcium vs 393 mg, 2,655 mg magnesium vs 84 mg, and 64 mg iron vs none. Though these aren’t large in daily diet terms, they make every bite just a little more wholesome. [4] Chemical-Free & Antibacterial No oils, coatings, or chemicals are needed. Salt is naturally antibacterial, so your slab stays hygienic even after repeated use. Beautiful Presentation A salt slab doubles as a serving plate imagining chilled fruits, sushi, or cheese beautifully displayed on a glowing pink crystal. Did You Know? The slab imparts a mineral-infused, mellow saltiness that balances flavors beautifully, letting you make heart-friendly meals with less sodium overall. [5] Step-by-Step Guide: How To Cook on a Himalayan Salt Slab Preheat Slowly and Gradually Preheating properly is crucial for preventing cracks. Place the slab on your stove or grill. Heat on low for 15 minutes, medium for 15 minutes, then high for another 15 minutes. When you sprinkle a few drops of water and they sizzle immediately it’s ready to cook! Never place a cold slab on a hot burner or into a preheated oven. Sudden temperature change may damage it. Time to Cook! Once hot, the slab acts like a natural grill or pan. You can cook: Steak and chicken for a smoky, mineral-rich sear. Shrimp and salmon for a perfectly salty crust. Vegetables like asparagus, mushrooms, or zucchini for a crisp finish. Even eggs or kebabs can be made with practice. For precision, try contact cooking searing shrimp at around 400°F for 2–3 minutes. It’s efficient, flavorful, and lets you use less salt overall, especially since a teaspoon of Himalayan salt already has about 2,200 mg of sodium, nearly a full day’s recommended limit. [6] While the sodium content per gram is similar to regular table salt (about 368–394 mg vs 381–428 mg), the slab’s solid form helps you use less salt overall without losing taste. [7] Let It Cool Naturally After use, move the slab off heat and let it cool at room temperature. Don’t put it in cold water or your refrigerator immediately, as the thermal shock can cause cracks. Explore: Types Of Salt For CookingHow to Use Himalayan Salt for Cooking How to Clean a Himalayan Salt Slab Cleaning your Himalayan salt slab is easy and chemical-free: Let it cool completely. Use a damp sponge or cloth to gently wipe off food residues. Avoid soap or detergent. Salt is antibacterial. If stubborn bits remain, use a soft scrub pad or spatula. Let it dry fully before storing. Since the slab naturally kills bacteria, there’s no need for harsh cleaners. Cold Uses of Himalayan Salt Slabs Your Himalayan salt slab isn’t just for cooking, it’s also perfect for serving cold dishes. Refrigerate or freeze your slab for 1–2 hours and use it to present: Fruits like watermelon, oranges, or strawberries. Sushi and sashimi for restaurant-style presentation. Cheese boards that stay chilled longer. Desserts like ice cream or chocolate for a sweet-salty twist. Cold contact enhances taste through natural flavor balance and mineral touch, giving your dishes a restaurant-quality presentation. [8]Read More: How To Use Himalayan Salt Block Tips to Extend the
How To Cook On Himalayan Salt Slabs Read More »